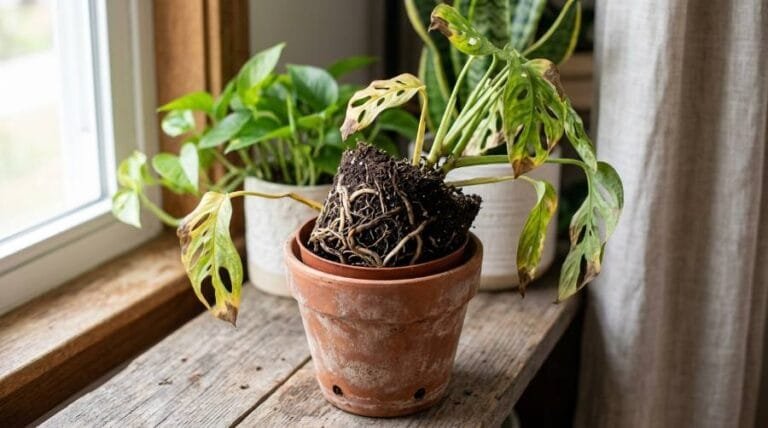
You can repot a houseplant without killing it by choosing a pot only 1-2 inches larger than the current one, gently loosening the roots instead of pulling them hard, using fresh, well-draining soil suited to your plant, and doing the whole job during spring or summer when the plant is actively growing. Water deeply right after, then give it a quiet, indirect-light spot for the next two weeks while it settles in.
That’s the short version. The long version, the part that actually determines whether your plant thrives or sulks for a month, is in the details below. Follow this guide to learn when it’s time to repot your plant.
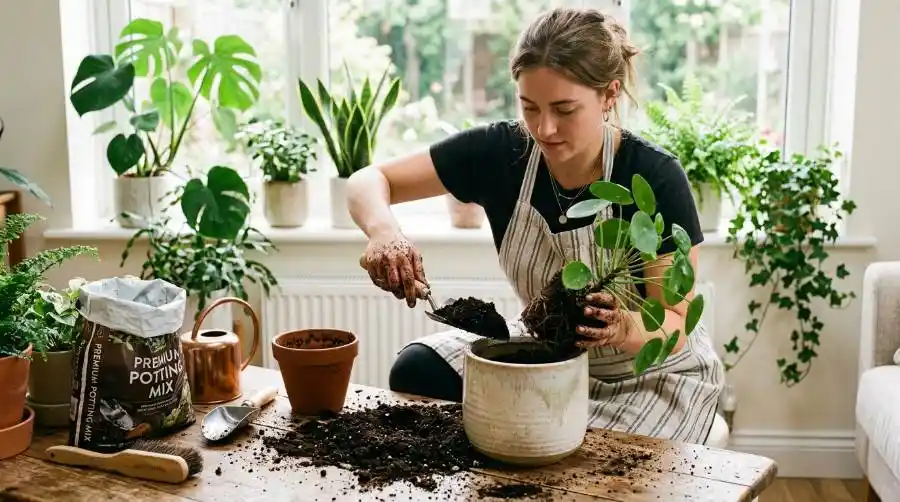
Is Your Houseplant Actually Ready to Be Repotted?
Before you buy a bigger pot, check whether your plant needs one at all. Repotting a plant too early is one of the most overlooked causes of unnecessary stress, and it’s rarely mentioned in most guides. Learn about the best indoor plant pots in this guide.
Look for these signs first:
- Roots are circling the drainage hole or poking through the surface:
A clear sign the plant has outgrown its container. - Water runs straight through without soaking in:
The roots have replaced most of the soil, so there’s nothing left to hold moisture. - Growth has stalled:
Even though light, water, and feeding haven’t changed. - The plant is newly purchased:
Nursery soil is often light and fast-draining, meant for short-term retail conditions, not long-term growth.
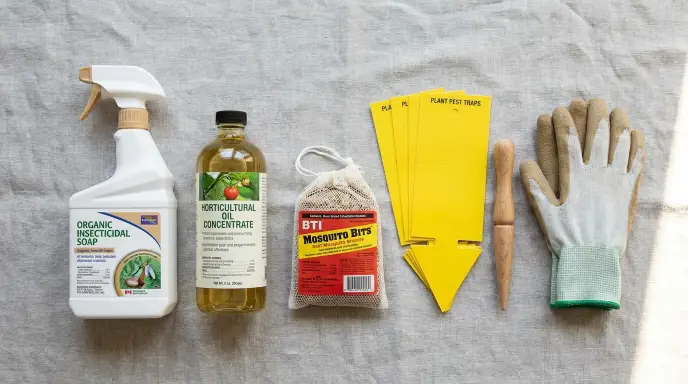
If none of these apply, hold off. A healthy plant in a pot that still has room doesn’t need to be disturbed, and repotting “just in case” is a common way to cause transplant shock for no good reason. If you’re repotting a plant with a gnat problem, follow our guide on dealing with fungus gnats during repotting to avoid spreading the infestation.
If you want to check whether your plant has root bound then check the guideline: What Does Root Bound Mean? Signs, Causes, and How to Fix It
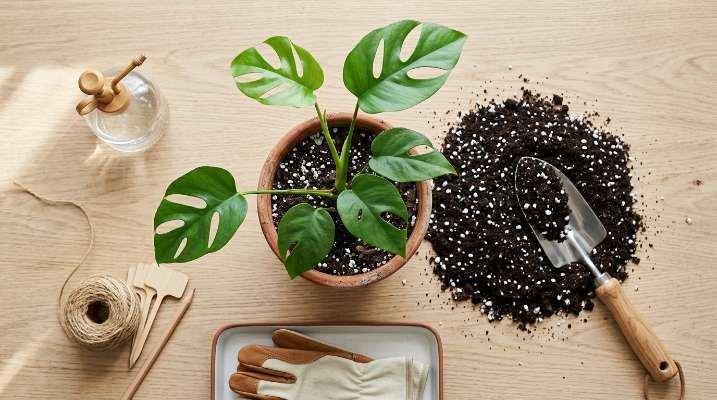
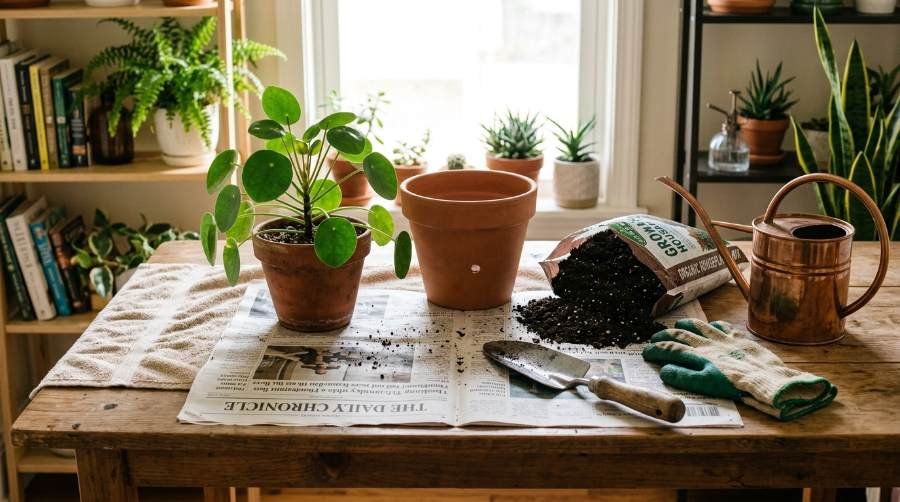
What You’ll Need Before You Repot a Houseplant
Gathering all the information first is more important than it may seem. Once a plant is out of its pot, its roots are exposed and drying out, and that’s not the moment to go hunting for a trowel.
- A new pot, 1-2 inches larger in diameter, with a drainage hole.
- Fresh potting mix suited to your plant type.
- Gloves and a small trowel.
- A watering can. Learn about the best long sproute watering can in this article.
- Old newspaper or a towel to catch soil.
Step 1: Choose the Right Pot Size to Repot a Houseplant
The “1-2 inches larger” rule isn’t arbitrary: it’s about moisture, not just space. A pot that’s too large holds far more soil than the roots can actually use, and that extra soil stays wet for days after watering. Roots sitting in soggy soil that never dries out are at high risk of root rot, which is a more common killer of repotted houseplants than under-watering ever is.
A drainage hole is non-negotiable. Without one, excess water has nowhere to go, and even careful watering habits can’t compensate for a pot that traps moisture at the bottom. If you want to learn details about choosing the right pot size, follow the guide: How to Choose the Right Pot Size for Any Houseplant
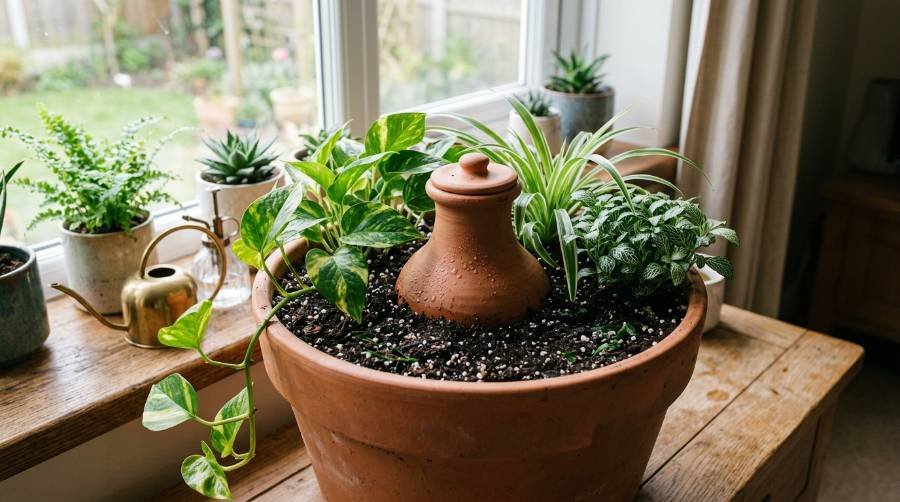
Material matters too:
- Terracotta is porous and dries out faster, good for plants prone to overwatering, like succulents.
- Plastic retains moisture longer, useful for plants that like consistent dampness, like ferns.
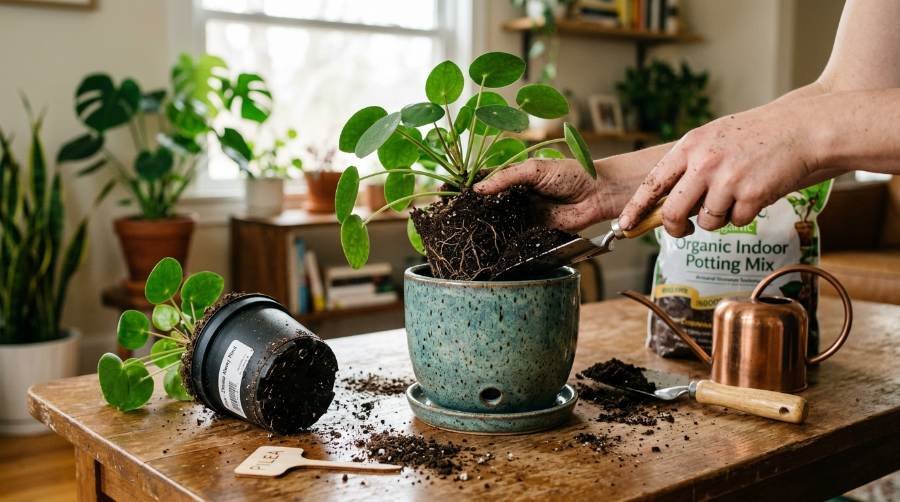
- Ceramic sits in between, but check that it actually has a drainage hole; many decorative ceramic pots don’t.
Step 2: Time Your Houseplant Repotting With the Growing Season
Spring through summer is the window most experienced growers recommend, and there’s a straightforward reason for it: plants are actively producing new roots and leaves during this period, so they recover from the disturbance of repotting much faster. Repotting during fall or winter, when growth naturally slows down, means the plant has to sit with a disturbed root system for longer before it can put out new growth to compensate.
There’s one exception worth knowing. If a plant is severely root-bound, fighting a pest infestation, or sitting in soil that’s broken down and won’t absorb water anymore, it’s worth repotting outside the ideal season rather than waiting months for spring. In those cases, the risk of leaving it alone outweighs the risk of off-season repotting.
Step 3: Prepare the Right Soil to Repot Your Houseplant
“Fresh, well-draining soil” gets repeated everywhere, but different houseplants genuinely need different mixes, and using the wrong one is a quiet way to set a plant up to struggle for months.
- Aroids (pothos, monstera, philodendron): a chunky mix with added perlite or orchid bark, so air can reach the roots. Learn about the best perlite potting mixes from this article.
- Succulents and cacti: a fast-draining mix with minimal organic matter, since regular potting soil holds too much water for these roots.
- Ferns and tropicals: a mix that holds some moisture but still stays airy, since these plants dislike both bone-dry and waterlogged soil.
Using a generic all-purpose mix for every plant is one of the more common reasons a “correct” repotting job still doesn’t go well. The success of your repot starts with the soil you choose. See our top picks here
Step 4: Remove the Houseplant Without Damaging It
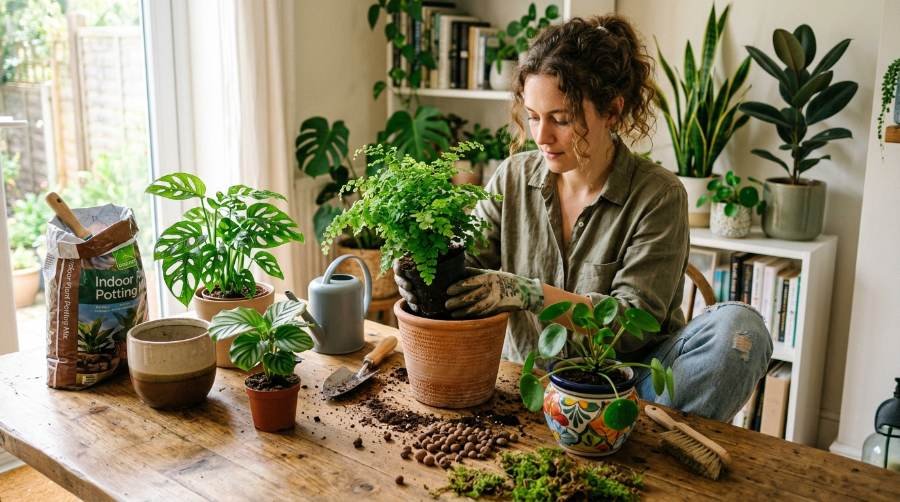
Squeeze the sides of a plastic nursery pot gently to loosen the soil from the edges, or tap firmly around a ceramic pot before trying to slide the plant out. Pull from the base of the stem, close to the soil line, never by the leaves or upper foliage, which can tear or snap under the plant’s own weight.
If the plant won’t budge, don’t force it. Run a butter knife or thin trowel around the inside edge of the pot to break the soil’s suction against the container walls, then try again.
Step 5: Inspect and Handle the Roots Before Repotting
Once the plant is out, take a moment to actually look at the root ball instead of moving straight to the new pot.
A root-bound plant will show roots wound tightly in a circular pattern, sometimes thick enough to have taken the shape of the old container. If you see this, gently tease the outer roots apart with your fingers so they’re pointing outward rather than still circling. This encourages them to grow into the new soil instead of continuing to spiral.
Trimming is a separate decision from loosening, and the two get confused often:
- Dead, mushy, or blackened roots should be trimmed away with clean scissors.
- Healthy roots that are simply tightly wound should be loosened, not cut.
Leave most of the original soil attached to the roots unless you’re dealing with pests, rot, or soil that’s become hard and water-repellent. Stripping away healthy soil disturbs the fine root hairs that do most of the water and nutrient absorption, which adds unnecessary shock on top of the repotting itself.
Step 6: Set the Houseplant at the Right Depth
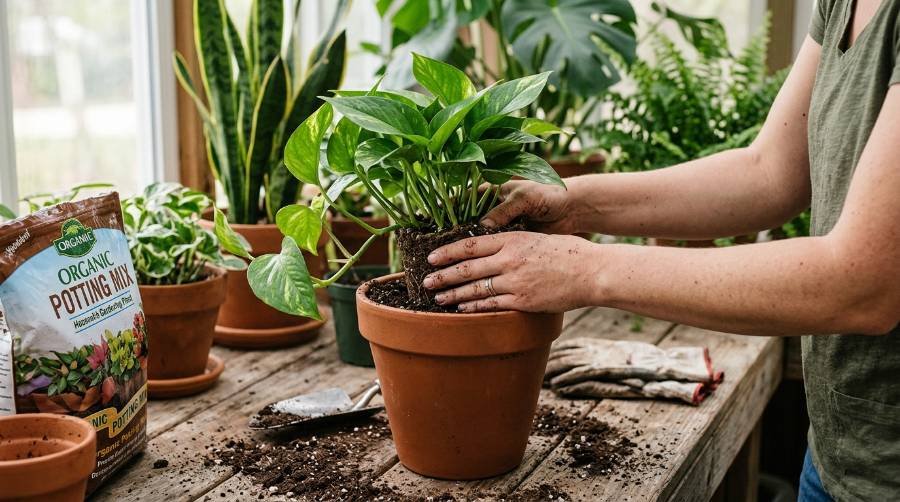
Add a layer of fresh soil to the bottom of the new pot before placing the plant in. The goal is to have the plant sit at the same depth it was at before. Burying the stem deeper than it was previously growing can lead to rot at the base.
Leave about an inch of space between the soil surface and the rim of the pot. That gap matters at watering time; without it, water runs straight over the edge instead of soaking into the soil.
Step 7: Backfill and Settle the Soil After Repotting
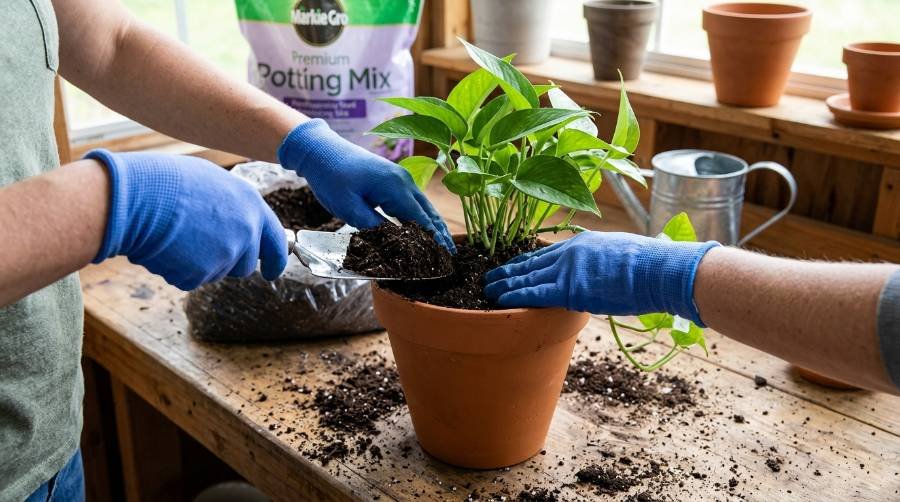
Fill in fresh soil around the sides of the root ball evenly, working around the whole pot rather than dumping it all on one side. Tap the sides of the pot gently to help the soil settle into any air pockets around the roots.
Resist the urge to press the soil down firmly. Compacted soil blocks airflow to the roots and makes it harder for water to drain properly. The soil should be settled, not packed.
Step 8: Water Thoroughly Right After You Repot the Houseplant
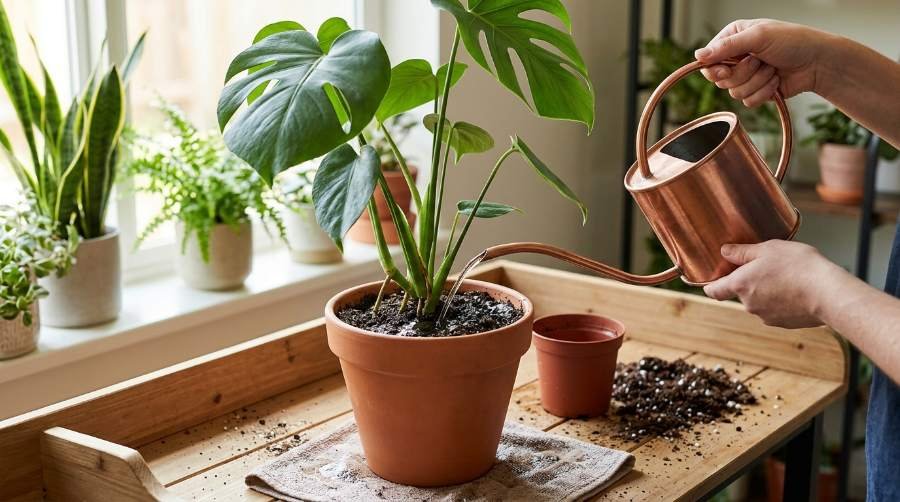
Give the plant a deep watering immediately. This helps the loose soil settle fully around the roots and rehydrates any fine root hairs that dried out slightly during the process. Let the water drain completely, and empty any saucer or cache pot underneath, since standing water at the base undoes the benefit of a well-draining setup.
What Happens After You Repot a Houseplant: Managing Transplant Shock
This is the part almost no guide covers, and it’s often where a repotting job that went perfectly still ends in a dead plant.
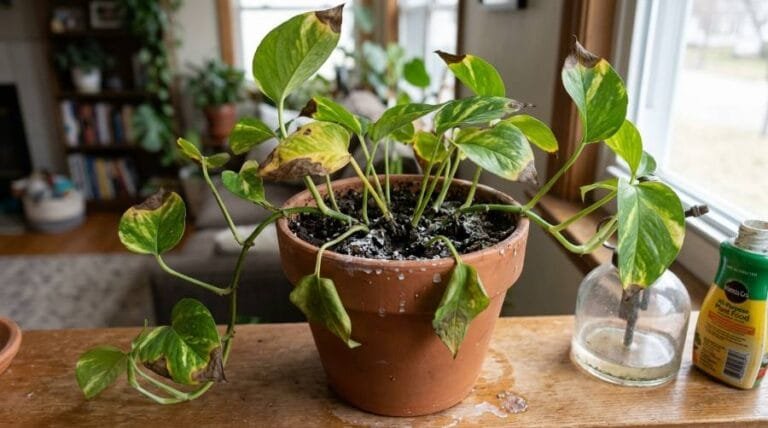
Some drooping, mild yellowing, or a pause in growth over the first one to two weeks is normal. The plant has just had its root system disturbed, and it takes time to reestablish contact with the surrounding soil. This is not automatically a sign that something went wrong.
What actually helps during this window:
- Keep it in indirect light:
Not direct sun, for the first one to two weeks. Direct sun adds heat stress on top of root stress. - Hold off on fertilizing:
For four to six weeks. Disturbed roots aren’t in a position to process added nutrients. For the full feeding schedule, see The Complete Beginner’s Guide to Indoor Plant Care.” - Don’t overwater to help it recover:
This is the most common panic response, and it’s usually the thing that turns a stressed plant into a dead one. Water on a normal schedule, checking the soil rather than watering out of anxiety. - Keep the environment stable:
Avoid drafts, sudden temperature swings, or moving the plant to a new spot right after repotting.
Common Houseplant Repotting Mistakes That Cause Plant Death
- Sizing up too much, too fast:
Jumping several pot sizes at once leaves too much wet soil around the roots. - Repotting during dormancy:
Fall and winter repotting means a longer recovery window with less active growth to draw on. - Packing the soil too tightly:
This restricts airflow and drainage right when the roots need both. - Pulling the plant out by the stem or leaves:
This damages the parts of the plant that are already under stress. - Repotting a sick or stressed plant just in case:
A plant that’s already struggling needs stability, not more disturbance, unless the container itself is the problem. - Skipping the drainage hole:
No amount of careful watering fixes a pot that can’t let excess water escape.
Read this article to learn about repotting mistakes and how to fix them.
Signs Your Houseplant Repotting Actually Worked
- New growth appears within two to four weeks.
- Leaves regain their firmness and color instead of staying droopy.
- Water drains at a normal rate, and the soil dries out evenly between waterings.
- There’s no mushy texture or foul smell at the base of the stem.

A Quick Repotting Story From My Own Shelf
I once sized up a snake plant by three pot sizes at once, thinking bigger meant less maintenance. The extra soil stayed damp for weeks, and the plant sat there sulking with soft, discolored leaves until I moved it back to a properly sized pot. Lesson learned the hard way.
Frequently Asked Questions About Repotting a Houseplant
How do I know what size pot to use?
Go 1-2 inches larger in diameter than the current pot. Anything bigger holds excess soil that stays wet too long for the roots to use.
Can I repot a plant that’s flowering or fruiting?
It’s better to wait until after the blooming or fruiting cycle finishes. Repotting during this stage adds stress right when the plant is putting most of its energy elsewhere.
Do I need to remove all the old soil?
No. Leave most of it attached unless there’s a pest problem, root rot, or soil that’s become hard and won’t absorb water anymore.
How soon can I water after repotting?
Right away. A deep watering immediately after repotting helps settle the soil around the roots.
Can I repot in winter if I have to?
Yes, if the plant is severely root-bound, dealing with pests, or sitting in soil that’s stopped absorbing water. Otherwise, spring or summer gives a faster recovery.
Key Takeaways: How to Repot a Houseplant Without Killing It
Repotting a houseplant without killing it comes down to a few things done in the right order: the right pot size, the right timing, gentle root handling, and soil matched to the plant. Most of the damage that happens during repotting isn’t from the process itself. It’s from oversized pots, impatient handling, or overreacting to normal post-repot drooping. Get those details right, and repotting becomes one of the lower-risk parts of houseplant care rather than one of the scariest. Repotting becomes one of the lower-risk parts of houseplant care rather than one of the scariest.